Collective ReflectionParticipatory DesignParticipatory InteractionParticipatory Learning
Collective DIY Mascot
- Duration
- 4 to 10 weeks, depending on group size.
- Participants
- 5 to 20 people. Larger groups can split into smaller circles with their own mascots.
- Areas of application
- Educación y formaciónPlanificación urbana y ruralSalud y bienestar socialArte, cultura y creatividadInnovación y diseñoResolución de conflictosParticipación ciudadana y social
- Participation level
- ColaboraciónEmpoderamientoImplementación colectivaIntercambio de perspectivas
- Target audience
- EstudiantesONGs y colectivos socialesEquipos empresarialesDiseñadores creativos
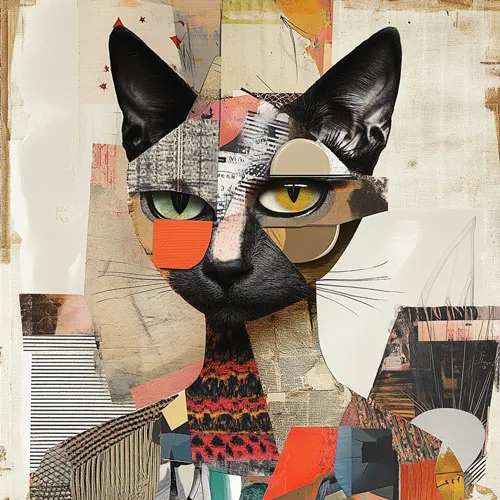
Collective DIY Mascot is a participatory dynamic where a group co-creates a symbolic figure that represents their shared identity. Starting with a simple, faceless cloth doll, the mascot is passed from person to person. Each participant takes it home for a week and adds a new element — such as eyes, clothing, hair, accessories, or symbolic objects. Over time, the mascot transforms through individual contributions, becoming a visual and emotional reflection of the group. The process ends with a final gathering to present and celebrate what was created together.
Preparation
- Define the purpose:
- Encourage shared identity building through creativity.
- Foster emotional connection and collaboration among group members.
- Transform individual input into a collective creation.
- Create the base mascot:
- Use or create a blank cloth doll with no facial features or accessories.
- Ensure it is lightweight and easy to transport and modify.
- Set a schedule:
- Create a timeline so each participant has the mascot for one week.
- Choose a final date to unveil the completed mascot.
- Prepare a logbook:
- Include a journal or digital document for each person to describe what they added and why.
- Encourage visual documentation: photos, sketches, or written stories.
Step-by-step instructions
- Kickoff meeting
- Introduce the blank mascot and explain the purpose of the activity.
- Clarify the rules: one addition per person per week, plus a logbook entry.
- Individual contributions
- Each person adds a new physical or symbolic feature to the mascot.
- They reflect on and document their addition in the logbook.
- Pass-along process
- After one week, the mascot is passed to the next participant.
- Repeat the process until all participants have contributed.
- Final presentation
- Hold a closing session where the final version of the mascot is revealed.
- Share stories, reflections, and emotional insights from the process.
Purpose
This dynamic aims to foster a sense of shared identity, emotional connection, and creativity within a group. It transforms a simple object into a collective symbol, shaped by individual expression and group memory.Required materials
- Blank cloth doll (simple structure, no features)
- Needles, thread, fabric, yarn, buttons, markers, paint
- Glue, scissors, tape
- Notebook or digital logbook
- Bag or box for transporting the mascot and materials
Platforms
Practical recommendations
- Encourage reuse of old clothes or personal items for emotional significance.
- Balance creative freedom with respect for previous contributions.
- Offer prompts for those who don’t know what to add (e.g. “What represents you today?”).
- Use the final session to reflect on how the mascot changed and what it now represents.
- Digitally archive the process to share with others or future groups.
Inspiration
Ideas for elements to add to the mascot- Eyes (made with buttons, fabric, paint, etc.)
- Embroidered mouth or smile
- Hair or hairstyle using yarn or thread
- Eyebrows or eyelashes
- Clothing: shirt, skirt, pants
- Shoes or decorated feet
- Hat, cap, or headband
- Glasses or sunglasses
- Scarf or bandana
- Backpack or handbag
- Bracelet, necklace, or accessories
- Cape or wings
- Decorative patches
- Pockets with surprise objects
- Small pouch with a hidden message
- Stars, hearts, or other sewn shapes
- Embroidered phrase or word on its clothing
- Small object representing the participant (keychain, button, pin)
- Scent or essence (lavender sprig, cotton with perfume)
- Painted tattoo or symbol
- Random part draw: each participant draws a slip of paper with the part they must add (e.g., "eyes," "shoes," "scarf").
- Thematic intervention: the group chooses a shared theme for the mascot (e.g., ecological, futuristic, retro, mythological animal).
- Mascot as organizational symbol: represents the culture or values of a team or institution.
- Traveling mascot: each person takes a photo with it in a different place and leaves a memento from that location.
- Emotional logbook: along with the physical change, participants include a note about how they felt during the intervention.
- Silent transformation: no writing involved, only physical additions—letting the final image speak for itself.
- Talking mascot: each person invents a phrase or thought that builds the mascot’s “voice.”
- Paired intervention: each stage is done by two people together, encouraging co-creation.
- Time traveler mascot: it’s customized as if it came from the past or future (decades, eras, etc.).
- Chameleon mascot: the intervention is reversible; what one person adds can be modified or replaced by another.