
Preparation
01 · Define the purpose
- What goal do you want to achieve with this activity? Generating ideas collaboratively? Organizing and prioritizing elements? Reflecting on a specific topic?
- Generating ideas collaboratively?
- Organizing and prioritizing elements?
- Reflecting on a specific topic?
02 · Prepare the materials
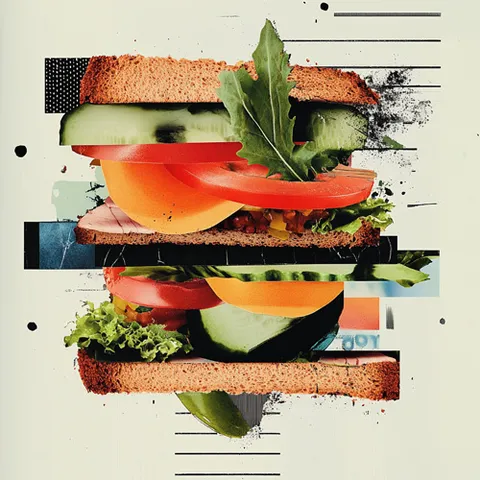
- Physical format: Cardstock or paper cut into the shape of a sandwich (top and bottom bread, intermediate layers). Colored markers and sticky notes for writing ideas.
- Cardstock or paper cut into the shape of a sandwich (top and bottom bread, intermediate layers).
- Colored markers and sticky notes for writing ideas.
- Digital format: Templates in collaborative digital tools to represent the sandwich.
- Templates in collaborative digital tools to represent the sandwich.
03 · Set up the space
- In-person: Arrange small work tables with all materials ready for groups.
- Virtual: Set up a digital platform that allows visual collaboration.
Step-by-step instructions
1
Introduce the purpose
- Explain the goal of the activity and how the sandwich layers will represent different ideas or reflections.
- Example: "The top bread represents the beginning of the process, the middle layers are the key ideas, and the bottom bread is the conclusion."
2
Divide into small groups
- Split participants into teams of 4-6 people.
- Provide each group with a blank sandwich template (physical or digital) to work on.
3
Generate ideas or reflections
- Ask participants to write their ideas on sticky notes or directly onto the sandwich layers.
- Provide clear examples based on the activity’s purpose:
- If solving a problem, the layers could represent causes, solutions, and outcomes.
- If reflecting on a topic, the layers could be questions, key learnings, and conclusions.
4
Organize the layers
- Participants place their ideas on the sandwich, arranging them logically or creatively.
- Facilitate a discussion to prioritize or adjust ideas if needed.
5
Group presentation
- Each team presents their sandwich to the whole group, explaining how they organized the ideas and why.
6
Closing and reflection
- Reflect as a group on the ideas generated and how they can be applied.
- Thank participants for their collaboration and creativity.
Materials
Blank sandwiches (physical or digital).
Sticky notes, markers, or digital tools to record ideas.
Practical recommendations
Provide clear examples
Help participants understand how to organize the sandwich layers.
Facilitate discussion
Encourage idea exchange within the groups.
Document the results
Save the final sandwiches for future reference.
Inspiration
Example of a Sandwich
Community Event Planning- Top bread (Event vision): Create an inclusive space where neighbors can share ideas and strengthen the community.
- Lettuce (Specific objectives): Gather 100 participants, promote local collaborative projects, generate ideas to improve public spaces.
- Tomato (Target audience): Neighbors of all ages, local businesses, community groups, and volunteers.
- Cheese (Necessary resources): Physical venue, sound equipment, materials for activities.
- Meat (Main activities): Participatory workshops, discussion panels, local initiative fair.
- Sauce (Promotion): Social media campaign, community posters, word of mouth among neighbors.
- Pickles (External collaborations): Participation of local NGOs, sponsors, or community businesses.
- Onion (Possible challenges): Coordinating schedules, attracting enough participants, managing limited budgets.
- Mustard (Key themes): Inclusion, sustainability, civic engagement.
- Olives (Innovative ideas): Incorporating technology to livestream the event or conduct live surveys.
- Bottom bread (Expected outcomes): Strengthen social cohesion, identify collaborative projects, and enhance community communication.