Preparation
- Is it a personal lifeline (from birth to present) or a shorter one focused on a specific period (schooling, participation in a project, community membership)?
- For youth or in contexts of vulnerability, avoid asking for comprehensive life histories that may bring up unprocessed trauma without appropriate support.
- One sheet of A3 or larger paper per person
- Markers or colored pencils
- Optional: stickers, symbols, small drawings for marking moments
- Prepare 3-5 prompts that orient participants without constraining their expression.
Step-by-step instructions
Introduction and warm-up (10 min)
- Explain the activity and show a simple example (not too detailed, to avoid conditioning the group's own maps).
- Clarify that there is no right or wrong way to draw the lifeline: it is a personal expression.
Individual drawing (20-30 min)
- Each person draws their horizontal line (or river) and begins marking the key moments along it.
- Guide prompts: "Mark the moments when you felt most alive, most yourself. Mark the difficult moments. Mark the people who made a difference. Mark a turning point that changed your direction."
- Encourage the use of drawings, symbols, colors, and brief words rather than paragraphs.
Sharing in pairs or small groups (15-20 min)
- In pairs or groups of 3, participants share their lifelines, telling the story of the marked moments.
- The listener asks questions with genuine curiosity: "What happened at that peak?" / "Who was with you in that valley?"
Optional plenary sharing (15-20 min)
- Each person (or spokesperson for each pair) shares one moment from their lifeline with the whole group.
- The facilitator weaves together what emerges: common patterns, shared histories, surprising differences.
Collective reflection
- What did we discover about ourselves and about the group? What common threads run through our stories? What has brought each of us to this moment?
Materials
Platforms
For virtual sessions or collaborative documentation.
Practical recommendations
Always offer the option of sharing only what one feels comfortable sharing. The lifeline is personal; no one should feel compelled to expose painful moments publicly.
Avoid comparison: emphasize that all stories are valid, and that there is no hierarchy between more or less eventful lifelines.
In contexts with people who have experienced significant trauma: have a mental health professional available and set up an opt-out option for sharing in the group.
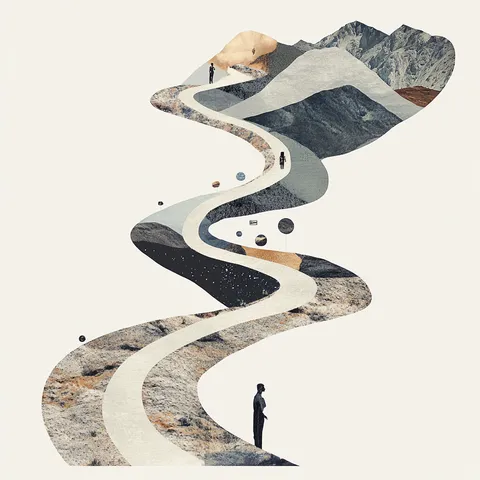
The river of life variant (where the timeline is drawn as a river with its currents, tributaries, and calm pools) often generates richer and more symbolic storytelling than the straight-line version.
In organizational contexts: focus on the professional or community trajectory rather than the full biographical history; ask about moments of learning, change, and leadership.
Inspiration
- River of life: Draw the story as a river with currents, tributaries, waterfalls, and calm stretches. Particularly powerful in intercultural and community contexts.
- Collective lifeline: The group builds a single shared timeline of a community, organization, or historical period, combining individual memories into a collective narrative.
- Future lifeline: After completing the personal timeline, extend it into the future: where do you want to be in 5 years? What turning points do you want to create?
- Tree of life: A variant developed by Ncazelo Ncube and David Denborough in which the tree's parts (roots, trunk, branches, fruits, leaves) represent different dimensions of the person's story and aspirations.
Consulted sources
- Atkinson, R. (1998). The Life Story Interview. Sage Publications.
- Bertaux, D. (1981). Biography and Society: The Life History Approach in the Social Sciences. Sage Publications.
- Goodson, I. & Sikes, P. (2001). Life History Research in Educational Settings: Learning from Lives. Open University Press.